Modifying Tabs#

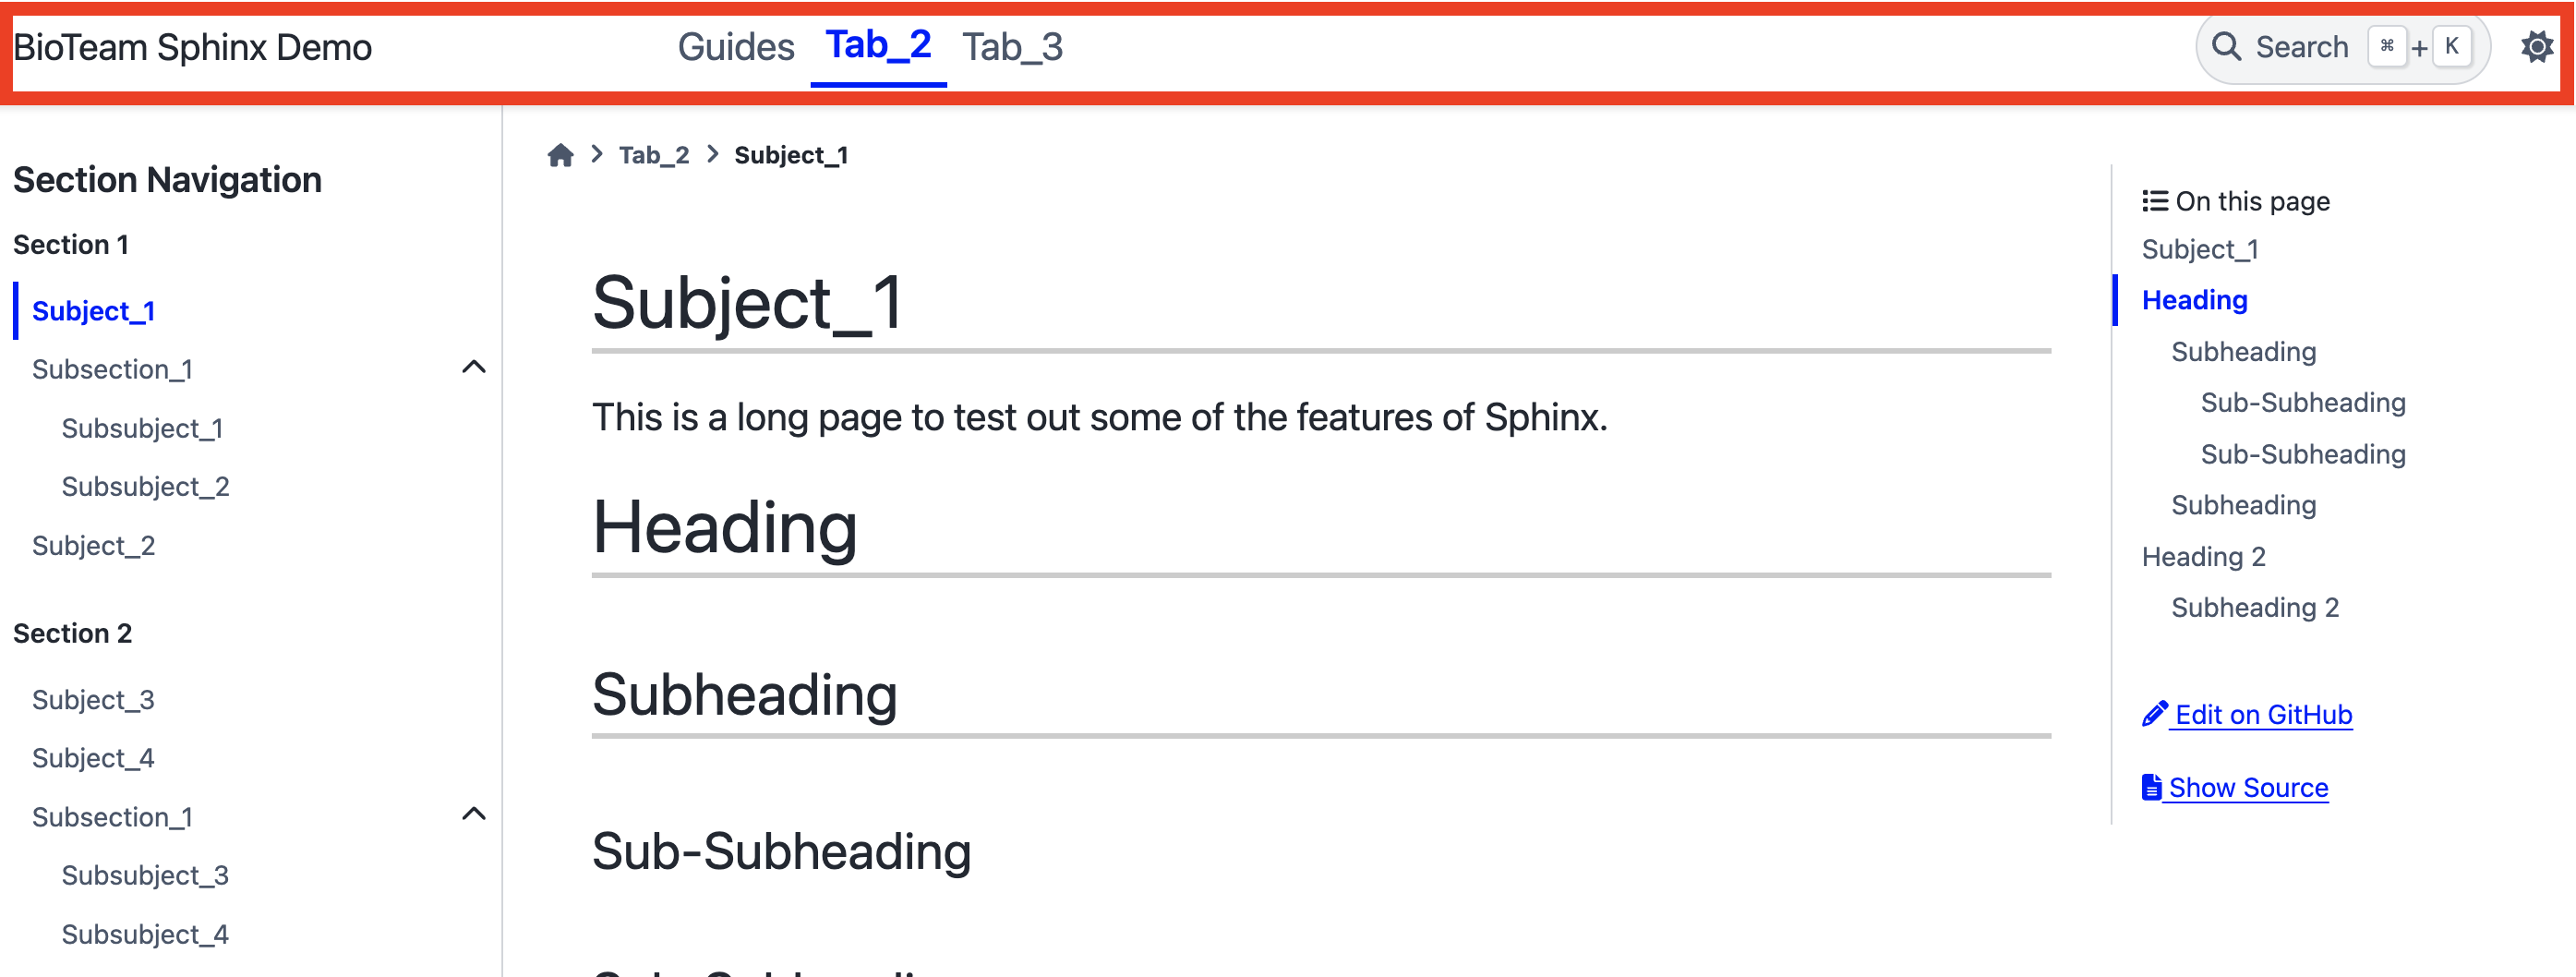
This walkthrough will cover how to add new tabs to the top bar (highlighted in red).#
Find the Root Index#
The index.rst files contain toctrees that specify what rST documents should be included in the layout.
In this walkthrough, we will need to edit the root index, which is the first index.rst file you find in the docs folder located within the project directory:
📦sphinx-documentation-demo
┗ 📂docs
  ┗ 📜index.rst    ← this is the root index
Explore the Root Index#
If you open up sphinx-documentation-demo/index.rst, you will notice a tocree containing the following:
.. toctree::
    :maxdepth: 1

    guides/index
    tab_2/index
    tab_3/index
This tells Sphinx to add three tabs.
Like the root index, each tab will need to have their own index.rst, as these indices will tell Sphinx what documents to include in each tab.
It’s good idea to keep the contents of each tab in a separate directory in docs/
File Layout for Tabs#
The following is a quick sketch of where Sphinx would expect files to be based on the toctree in docs/index.rst:
📦sphinx-documentation-demo
┗ 📂docs
  ┣ 📂guides
  ┃ ┗ 📜index.rst       ← index for tab "guides"
  ┣ 📂tab_2
  ┃ ┗ 📜index.rst       ← index for tab "tab_2"
  ┣ 📂tab_3
  ┃ ┗ 📜index.rst       ← index for tab "tab_3"
  ┗ 📜index.rst         ← root index
Creating “test_tab” folder and empty index#
We will now try to add a new tab to Sphinx. It will be called “test_tab” and will be next to the other tabs already in our documentation.
Create a new empty directory called “test” at:
docs/test_tab/Create a new empty “index.rst” file at:
docs/test_tab/index.rstInside
docs/index.rst, in the indented toctree, append the linetest_tab/index. It should look like the following:
.. toctree::
    :maxdepth: 1

    guides/index
    tab_2/index
    tab_3/index
    test_tab/index
Creating a “test document”#
To make our new “test_tab” meaningful, we need to also add a document that can be viewed while within that tab. We will do this now:
Create an empty “test” doc at
docs/test_tab/test_doc.rstAdd the following text to the “test_doc” document:
Test Document
=============

Hi there! This document is just a stub.
Note that Test Document above refers to the title of the document.
This will be displayed when viewing the document, and it will also be the name that will appear in the navigation bar to the left when we add this document to the tab.
Add “test document” to “test tab” index#
Now we need to tell Sphinx that the “test document” will be located in our new “test_tab”.
Add the following to docs/test_tab/index.rst (if you mouse over the following code block, you can copy it by clicking the copy button):
Test_Tab
========

This is the index for the "Test Tab".

.. toctree::
    :maxdepth: 1

    test_doc
Remember that this is the index file at docs/test_tab/index.rst.
This means that when we point to documents in this index’s toctree, the path is relative to the docs/test_tab directory.
So when we added test_doc to the previous toctree, it’s assuming that the file structure looks like this:
📦sphinx-documentation-demo
┗ 📂docs
  ┗ 📂test_tab
    ┣ 📜index.rst
    ┗ 📜test_doc.rst
Build docs and explore the “test_tab”#
Make sure to build your documentation using sphinx-build or sphinx-autobuild.

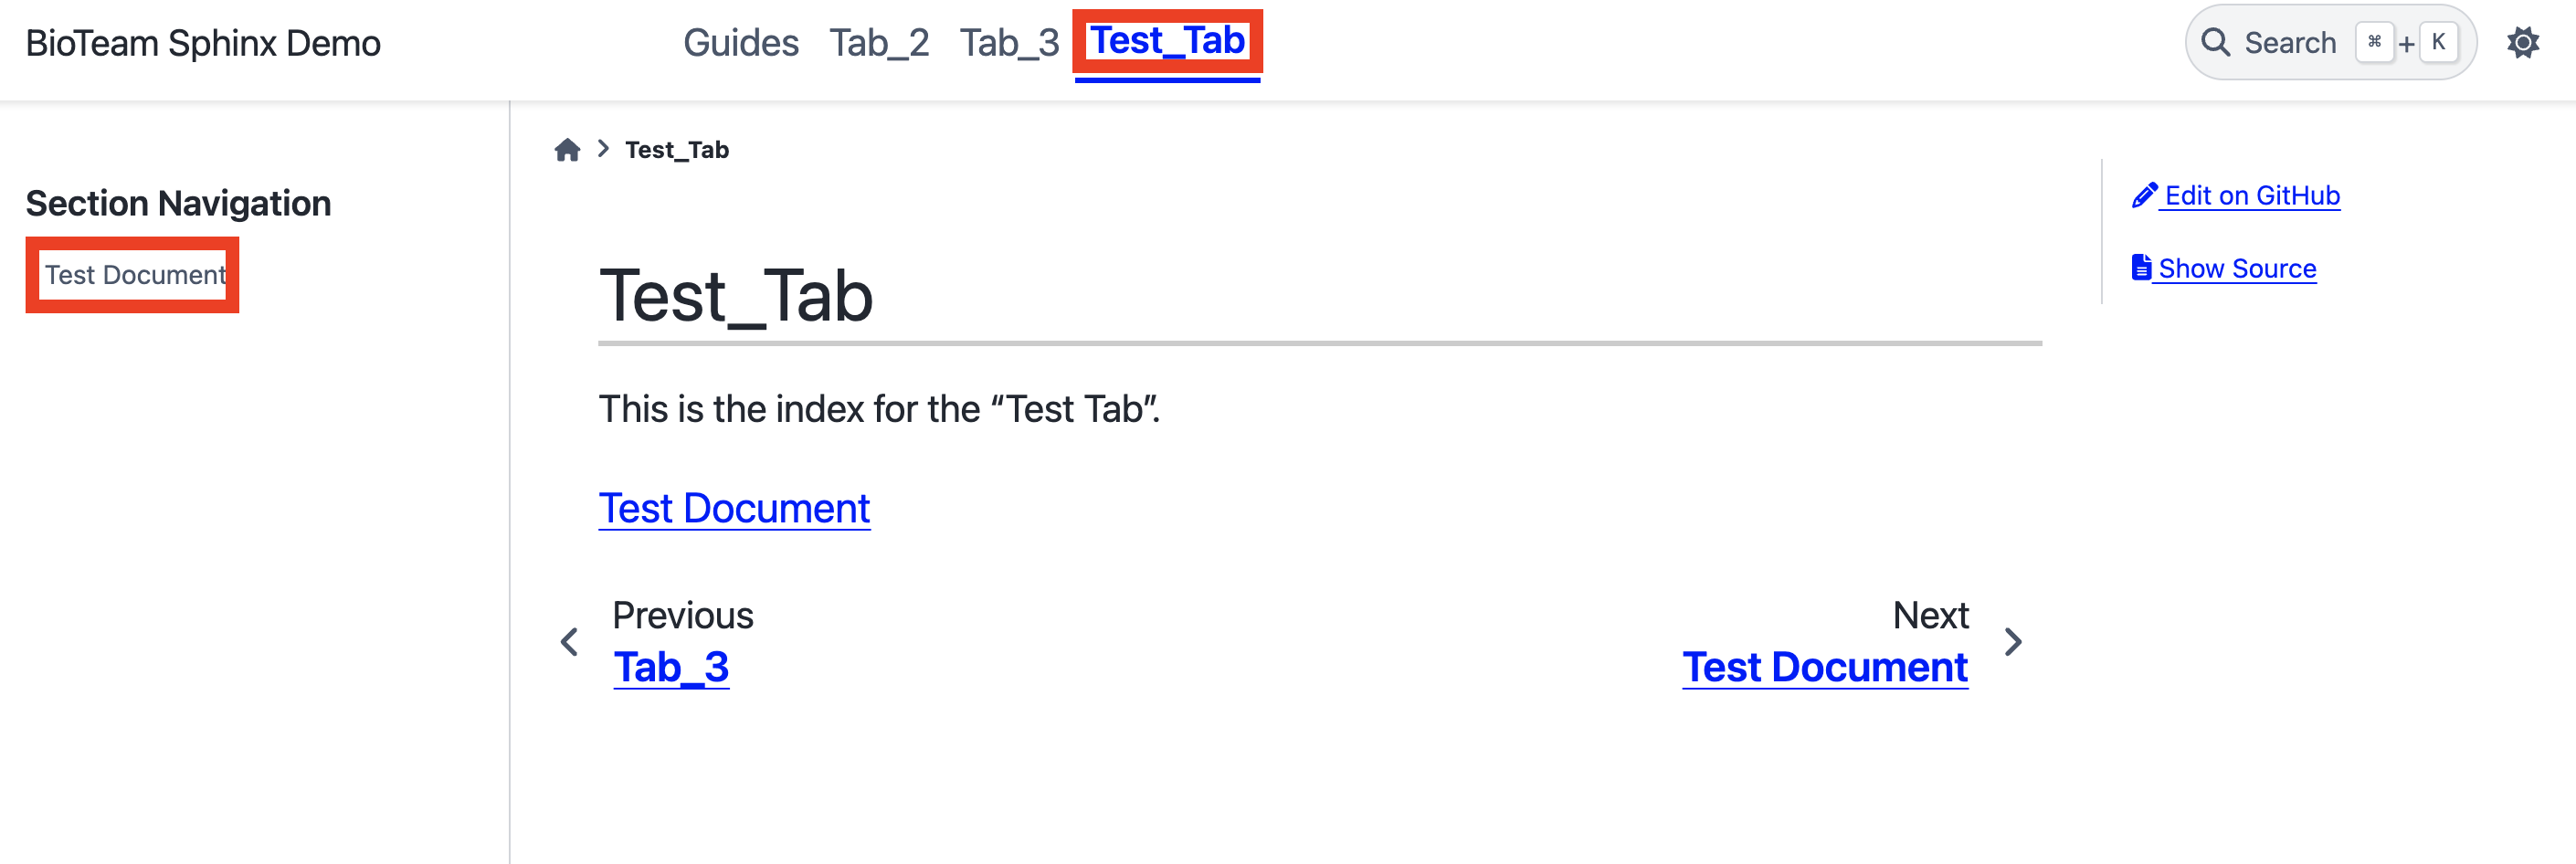
Once the documentation is built, you should see something like this.#
You should see a new “Test_Tab” at the top navigation bar.
This name comes from the title of the docs/test_tab/index.rst document.
Click on it to see the contents of the new tab.
In the left sidebar, you should see “Test Document”.
This name comes from the title of the docs/test_tab/test_doc.rst document.
Click on it to view the contents (it should contain the text Hi there! This document is just a stub.)